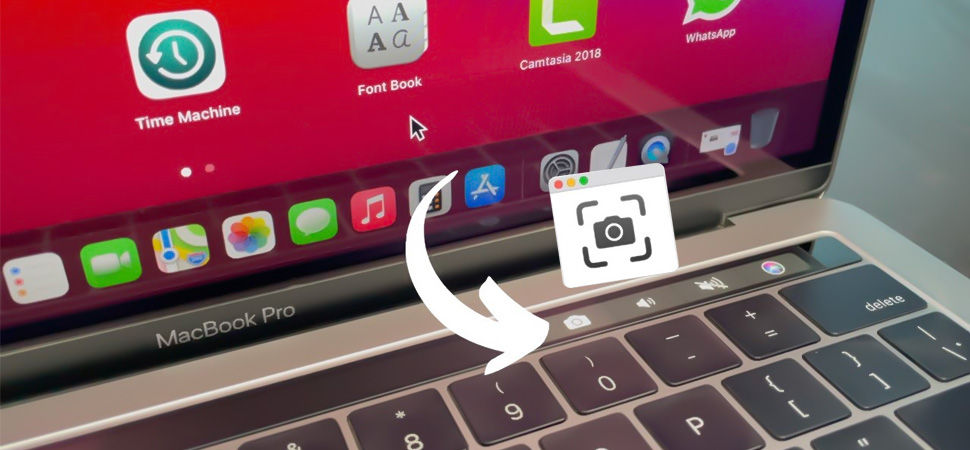
1. Using Keyboard Hotkeys

Capturing and cropping a screenshot using hotkeys is the easiest and most convenient way. The built-in feature of capturing screenshots on Mac allows you to preview your image and edit it before saving it on your laptop. You can not only crop the screenshot image but also resize, rotate, or annotate it.
Step 1- Take a screenshot of your desired Mac Window using the “Shift+Command+3” keys.

Step 2- Click on the thumbnail that appears in the bottom right corner of your screen. You will see a
screenshot preview window.

Step 3- Using your Mac’s mouse pad, drag the cursor to make a rectangular section of the desired portion
you want to trim.

Step 4- Press the “Command+K” key to crop the image. Your computer will save the edited screenshot
automatically.

2. Using Menu Bar

Select the crop option from the drop-down menu if you don’t want to remember the hotkey combination.
Step 1- Repeat the first three steps of the previous method. Grab a screenshot and select a rectangular
section of the portion you want to trim.

Step 2- Click on “Tools” in the top menu bar. A drop-down menu will appear. Select “Crop”.

Step 3- The computer will save the selected portion directly for you.

3. Using Touch Bar
If you use the older versions of MacBook Pro models, make the best use of the touch bar. Cropping a screenshot is even more handy with a touch bar, as it allows you to complete the process in a single tap.
Step 1- Similar to the previous methods, use the hotkeys and capture a screenshot of the desired window
screen.
Drag and select the rectangular portion.

Step 2- Once you have selected the portion you want to trim, press the square crop icon on the touch bar.
Your computer will save the cropped image.

4. Using the Photos App
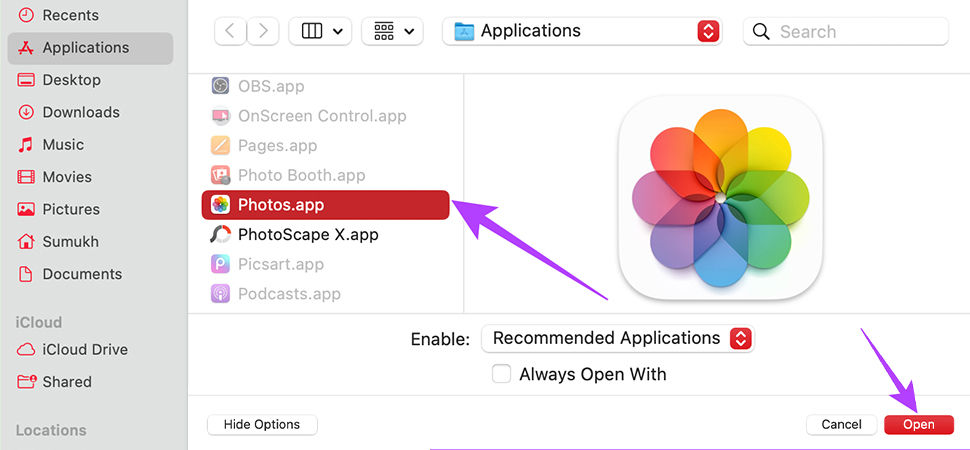
Photos app is the best way to edit and crop screenshots if you want to use something other than the preview method. The photos app will not only allow you to crop and resize but also edit your images at the same time.
Step 1- Press “Shift+Command+3” and take the screenshot on your Mac.

Step 2- Right-click the floating preview thumbnail and select the “Open In Photos” option from the
pop-up menu.

Step 3- Once you’re on the Photos app, click “Edit” in the top right corner of the screen.

Step 4- Click on “Crop” in the edit toolbar and drag or resize the rectangular cropping area as per your
requirement.

Step 5- Once done, hit “Enter” or click “Done” in the top right corner. Your computer will save the
cropped screenshot in the gallery.

As evident from the blog, it is very convenient to crop your screenshots on a Mac with the built-in tools. A few easy steps, and you can edit and trim your screenshot images as per your liking for free.
Refer to this article and follow any methods if you’re stuck. Also, if you are cropping your screenshot, do not forget to save a copy of the original image, as your Mac autosaves the cropped image only. The tip will be handy if you do not want to lose the actual screenshot.